It is incredibly rewarding to grow your own organic garden; you can provide you and your family with delicious organic fruits and vegetables that are both delicious and safe.
The good news is you can easily build a worm bin for your organic garden.
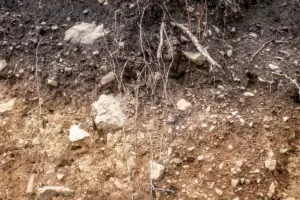
While size is not important, the best depth for the bin is between eight and twelve inches. You can use wood or even a large Tupperware container. It’s important to remember that worms like a dark and moist environment that is not too wet.
Table of Contents
Why Are Worm Bins Useful?
Worms are a great way to aerate and drain your compost making it the perfect nutrient-rich food for your garden. When it comes to organic gardening, compost is the best way to feed your plants, and worm-rich compost is certainly the best option.
Creating a worm bin is a great way to reduce waste and help our environment! There are really no downsides to using a worm bin for your organic garden, and the good news is, they are incredibly easy to make and use.
Simply follow the instructions below and your home will be that much closer to zero-waste, and your plants will be happy and healthy too.
What You Need To Build a Worm Bin
Before you get started building your worm bin, you will need a few essential components.
- The Bin. Your bin can be made out of wood or even Tupperware, but it should be opaque in color so no sunlight can penetrate it.
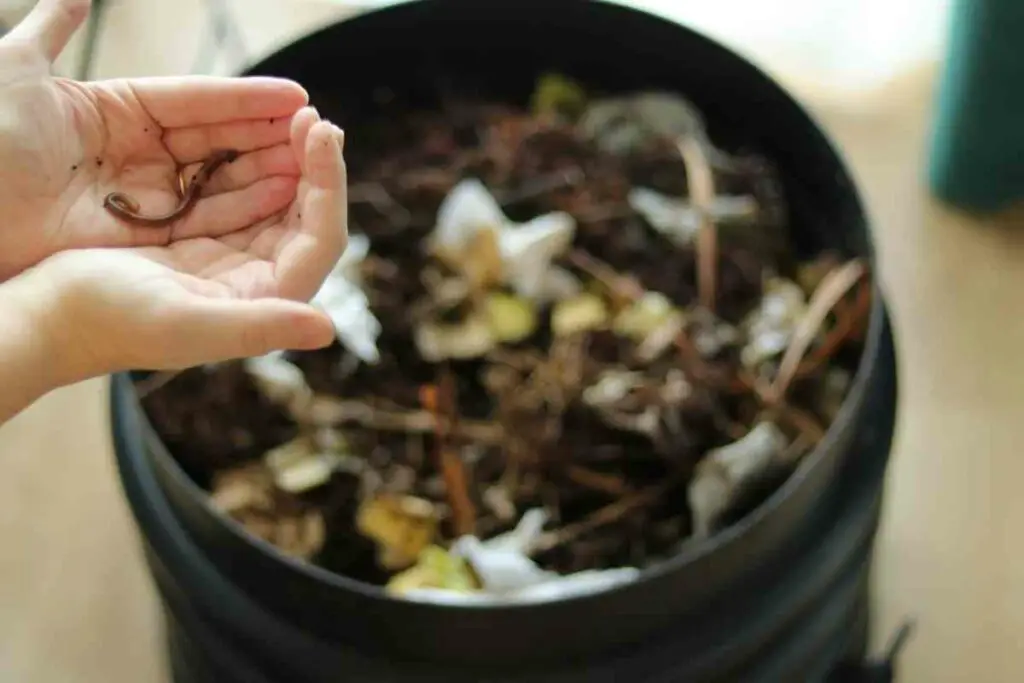
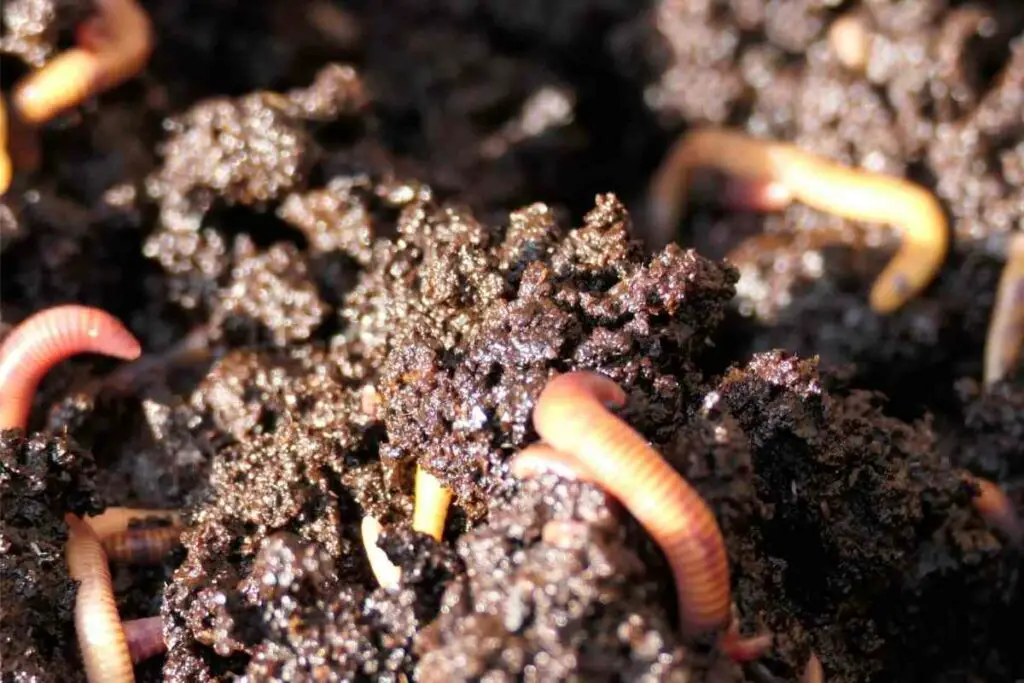
- The Worms. Red Wigglers are the best worms to use, and you can find them for sale online and sometimes at your local garden center.
- The Bedding. Water-soaked and shredded newspaper or cardboard should make up the bedding in your bin.
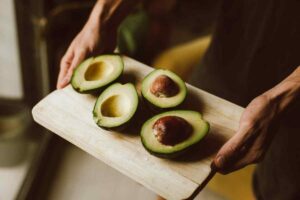
- The Food. The worms want to eat natural compost such as vegetables, non-acidic fruits, grains, coffee grounds, tea leaves, aged grass clippings, and even hair can be added as well.
How to Build Your own Bin
As we mentioned, the bin can be made of wood or plastic, however, the plastic should not be translucent.
The size of the bin is not important, but it should be between eight and twelve inches deep.
Make the Bedding
Once you have your bin, you need to make and place the bedding. You will need enough shredded cardboard or newspaper to fill between one-third and one-half of your bin.
Soak the shredded newspaper for only a few minutes, and cardboard in water overnight until saturated.
Wring out the materials until moist but not wet, then place in the bottom of your bin with soil, fine sand, sawdust, or ground eggshells.
Next, you will need to make a home for your worms by digging a hole in the center and placing the worms inside. From there, cover your bin and leave the worms to eat the bedding for about a week.
Add Your Table Scraps
Start small and only feed your worms what they can eat. A few veggie scraps, non-acidic fruits, eggshells, and coffee grounds are a good way to start.
When it seems that are eating through their first meal, you can slowly add a little more at a time.
Harvest Your Compost
When the compost looks like soil as opposed to partially decomposed scraps, it is ready for harvest, and there are several ways to do so.
One of the simplest ways is to dump your worm bin out on a large plastic sheet, and with gloves, remove all the worm castings. Remember to place any partially decomposed material to the side, as well as a small amount of compost to re-start your bin.
The other way is to allow the worms to separate themselves. You can move any compost that is obviously ready to one side, and on the other side place more scraps. The worms will naturally move to that side, and therefore you can simply remove the fully composted side.
You will still need to check for any remaining worms or casings but there should only be a few.
Your compost will be good to use from anywhere between two and a half and six months, depending on the size of your bin and the number of worms you have.
How Many Worms Should Be Used for a Worm Bin
As we have learned, Red Wigglers are the best worms to use in a worm bin. The general rule of thumb is that for every one pound of food waste, your bin should have two pounds of worms or about 2,000 wigglers.
However, it is important to remember that these worms can double their numbers in only ninety days, so you may want to start with fewer worms and watch their reproduction habits.
The good news is, you do not have to source these little guys yourself, you can find Red Wigglers for sale on a variety of garden websites
Wheres Best To Buy Red Wigglers
Arcadia Garden Products WN01 Worm Nerd Red Wiggler Live Worms-100 Pack is an amazing product that we recommend using. Using this product you save time and effort harvesting red wigglers and these can be planned straight into your compost.
Where to Keep Your Worm Bin?
Now that you know how to build a worm bin, you will certainly want to know where you should keep it.
It’s essential to put your worm bin in a location that will ensure the correct temperature and darkness for your worms to thrive.
Red Wigglers like complete darkness. Under the kitchen sink; a garden shed, or even in a dark basement or garage are three of the best places to place your worm bin.
Although which place you choose will depend on the temperature of your home or the time of year. Worms prefer their home to sit comfortably between thirteen and twenty-five degrees celsius.