You’ve got a tree stump in your yard, and you’re itching to turn it into something more than just an eyesore.
Hollowing out that old stump can open up a world of possibilities for repurposing and adding character to your outdoor space.
From gathering the right tools and materials to carving out your desired shape and applying finishing touches, there’s more to this project than meets the eye.
For me, I really wanted to remove the stump as it’s in the middle of the yard. This will allow my kids to play some fun games in the backyard with no fear of tripping.
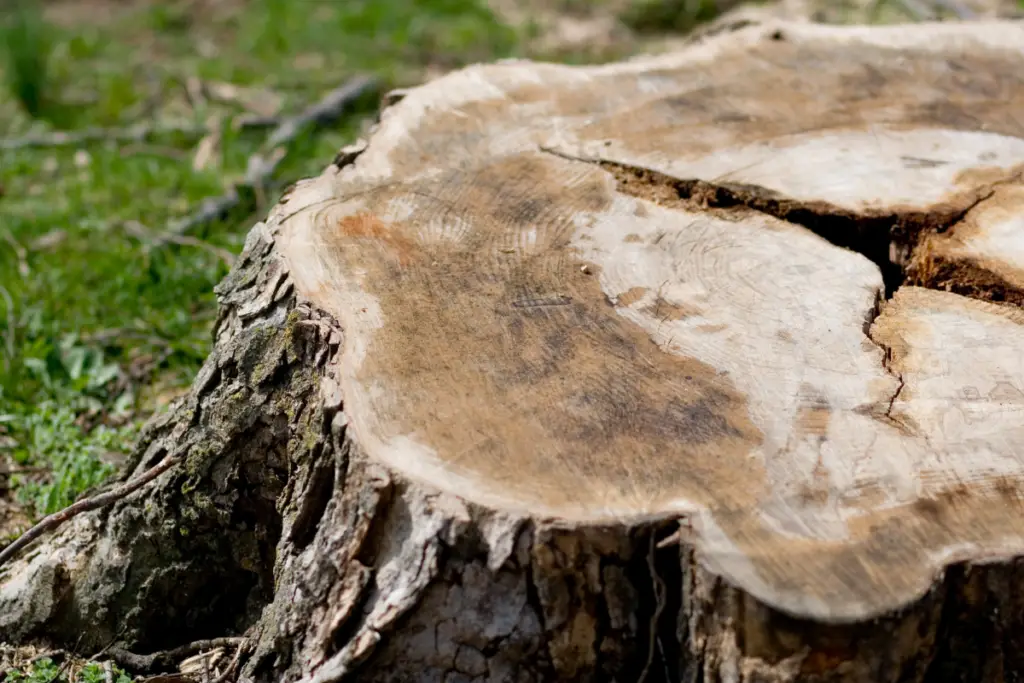
Table of Contents
Gathering the Necessary Tools and Materials
Before we get started, you’ll need to gather some essential tools and materials for this exciting project!
There are various stump removal methods to choose from, but regardless of which one you select, tool maintenance is crucial.
Keeping your tools in good condition will ensure a smoother process and better results.
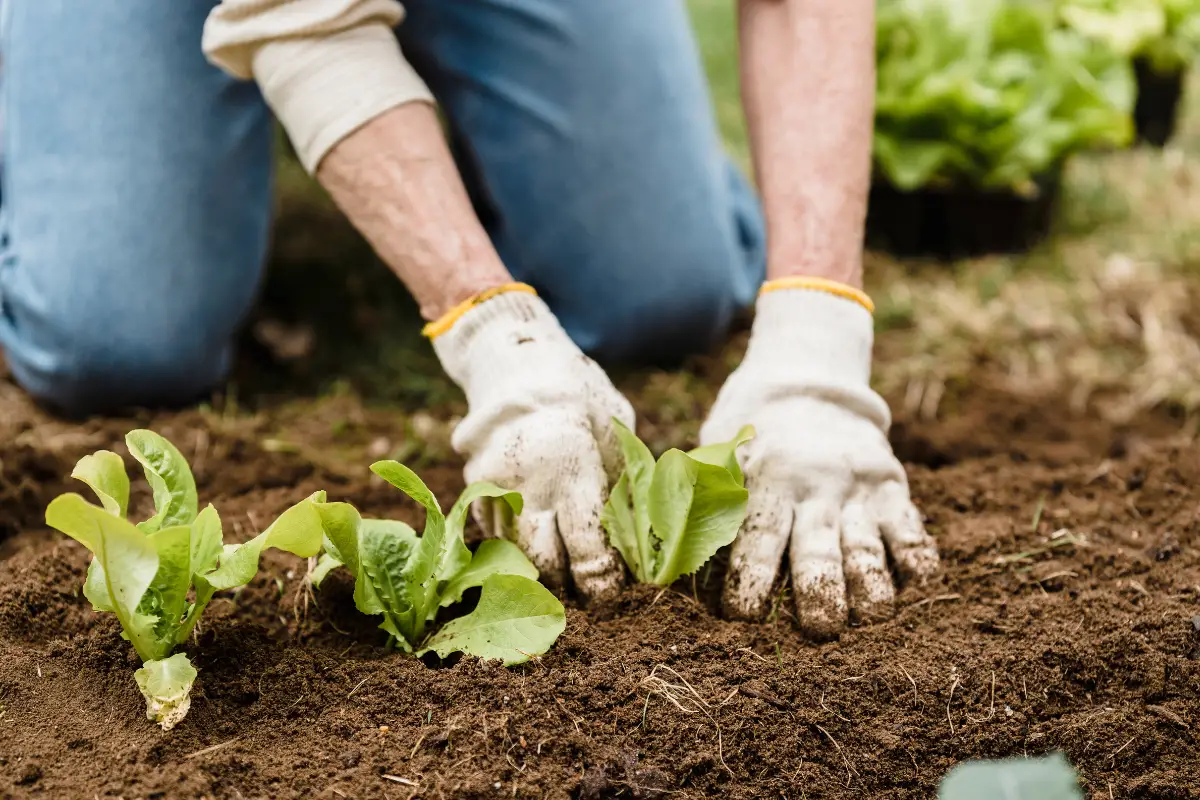
To hollow out a tree stump effectively and safely, you’ll need items such as a chainsaw or handsaw for cutting, an ax or mattock for chopping, a power drill with large wood-boring bits for drilling holes into the stump (optional), gloves to protect your hands during the task, goggles to safeguard your eyes from flying debris, steel-toed shoes for added protection against heavy falling objects or accidental slips with sharp tools.
The importance of protective gear cannot be stressed enough when undertaking any DIY project like this.
Safety should always be at the forefront of your mind while working on such tasks. In addition to the gloves, goggles, and steel-toed shoes mentioned earlier, consider using earplugs if you’re operating loud power equipment such as a chainsaw or drill.
Wearing long pants and sleeves can also help shield your skin from scrapes and cuts during the process. Remember that taking all necessary precautions now can save you pain or injury in the long run.
As you gather your tools and materials, keep in mind that there are eco-friendly alternatives available for certain aspects of this project – particularly when it comes to disposing of the removed wood material from the stump itself.
If possible, repurpose the wood chips or shavings as mulch in your garden instead of discarding them haphazardly.
Additionally, look out for budget-friendly options when purchasing new tools: compare prices across different stores both online and offline before making any purchases – remember that investing in high-quality equipment doesn’t necessarily mean breaking the bank!
Once you have all these essentials ready to go, let’s dive into how exactly we’ll proceed with hollowing out that tree stump.
Preparing the Stump for Hollowing
You wouldn’t dive into a pool without checking the water’s depth, right? Similarly, it’s essential to prep and assess that stubborn old trunk before transforming it into something new.
Before you begin, evaluate your stump for its stability, size, and potential uses. Stump removal methods vary depending on the intended purpose; tree stump art requires a different approach compared to creating natural planters or maintaining a stump ecosystem.
The condition of the wood also plays a crucial role in determining its suitability for various purposes.
For example, check for signs of wood decay prevention treatments done previously – these could affect carving or drilling work.
Begin by cleaning your tree stump thoroughly to remove dirt, debris, and any loose bark that may hinder your hollowing process.
Use a stiff brush or hand broom to get rid of surface dirt, and then follow up with a power washer if necessary to ensure all nooks and crannies are clean.
This step is vital as it allows you to examine the wood more closely for any signs of damage or decay that might compromise the project’s success.
Moreover, clear away any foliage or plants surrounding the stump so you have ample space to maneuver while working safely.
Once your stump is appropriately cleaned and assessed, mark out your desired hollowed area using chalk or spray paint as a guide during excavation.
It’s important to leave enough thickness around the edges for structural integrity while hollowing out the interior space according to your chosen purpose—be it for tree stump art or natural planters.
Additionally, consider drilling several holes at varying depths in areas prone to retaining water within the cavity you’re creating; this promotes adequate drainage and prevents excessive moisture build-up, which could lead to rotting issues over time.
Taking these preparatory measures will set you up for success in transforming an ordinary tree stump into something functional or decorative while preserving its long-term durability.
Carving and Shaping the Inner Cavity
Carving and shaping the inner cavity of a tree trunk can be an intricate process, like sculpting a masterpiece from nature’s own canvas.
To create a visually pleasing and structurally sound hollowed-out stump, you’ll need to consider cavity depth, carving techniques, inner support, and aesthetics while avoiding damage to the surrounding tree or environment.
Before you begin carving, determine the desired depth of your cavity; this will help guide your chiseling and ensure a consistent finished product.
When it comes to carving techniques, using sharp and well-maintained tools is essential for smooth cutting and minimal damage to the wood.
Chisels are ideal for removing large chunks of wood in the initial stages of hollowing out the stump.
As you progress with your project, switch to smaller tools like gouges or curved knives that allow for more precise shaping within the cavity.
During this process, it’s crucial to maintain inner support by leaving enough wood thickness at key structural points, such as near the base or around any branches emanating from your stump.
As you work on refining your tree stump’s interior cavity aesthetics, pay attention to details such as rounded edges and smooth surfaces that make it more visually appealing while also reducing potential hazards such as splinters or sharp corners.
Keep in mind that creating a balanced final product may require extra attention during this stage; take care not to over-carve one area at the expense of another.
When approaching the completion of your masterpiece, step back periodically to assess progress from multiple angles so that you can make any necessary adjustments before declaring victory over nature’s canvas.
By following these guidelines throughout the carving process, you’ll achieve stunning results while preserving both structure and beauty in your hollowed-out tree stump creation.
Finishing Touches and Repurposing Ideas
Ironically, it isn’t until you’ve finished the laborious task of sculpting nature’s canvas that the real fun begins: adding those final touches and repurposing your masterpiece into a functional or decorative piece for your home or garden.
As you contemplate how to best utilize your hollowed-out tree stump, consider options such as decorative planters, fairy gardens, outdoor seating, stump lighting, and even wildlife habitat enhancements.
These creative uses not only provide practical solutions for repurposing an otherwise cumbersome object but also allow you to express your personal style and contribute positively to your local ecosystem.
Decorative planters offer an aesthetically pleasing way to showcase flowers or herbs in a rustic setting. Start by lining the hollowed-out cavity with landscape fabric or coconut coir liner to help retain moisture and prevent soil from washing away during watering sessions.
Fill the cavity with a quality potting mix designed for container gardening and choose plants that complement one another in terms of light requirements, color schemes, and overall design aesthetics.
For a whimsical touch, fairy gardens are another popular choice when repurposing tree stumps; these imaginative miniature landscapes often include tiny figurines, houses, pathways, and other enchanting elements that can spark joy in both children and adults alike.
Outdoor seating is another fantastic option for utilizing your hollowed-out tree stump – simply sand down any rough edges on the top surface and add a comfortable cushion for guests to lounge on while enjoying warm summer evenings outdoors.
Stump lighting provides an ambient glow around walkways or garden beds; simply drill holes into the sides of the stump at various heights before inserting solar-powered LED lights within each hole.
Finally, don’t forget about our feathered friends: creating a wildlife habitat enhancement can be as simple as piling logs near the base of the stump or adding birdhouses atop its upper surface – this not only attracts beneficial species like birds but also supports biodiversity within your local environment.
By thoughtfully considering these various repurposing ideas, you can transform your hollowed-out tree stump into a functional and beautiful addition to your home or garden.
Conclusion
In conclusion, hollowing out a tree stump is like uncovering a hidden treasure in your backyard. With the right tools, patience, and creativity, you can transform an unsightly stump into an eye-catching piece of art or a functional piece for your home.
Now that you’ve mastered the techniques on how to hollow out a tree stump let your imagination run wild with repurposing ideas.
Who knows what incredible creations await in every unassuming stump?
- How to Build a Planter Box for Bamboo: A Step-by-Step Guide

- Can Robotic Lawnmowers Handle Steep Slopes?
- Do You Need a Specific Lawn for a Robotic Lawnmower? Expert Advice

- Are Robotic Lawnmowers Safe for Pets and Children? Safety Features of Robotic Lawnmowers
- Why Use Robotic Lawnmowers? Advantages of Using a Robotic Lawnmower

- Is the GARDENA SILENO City 300 Cordless or Corded? A Clear Answer