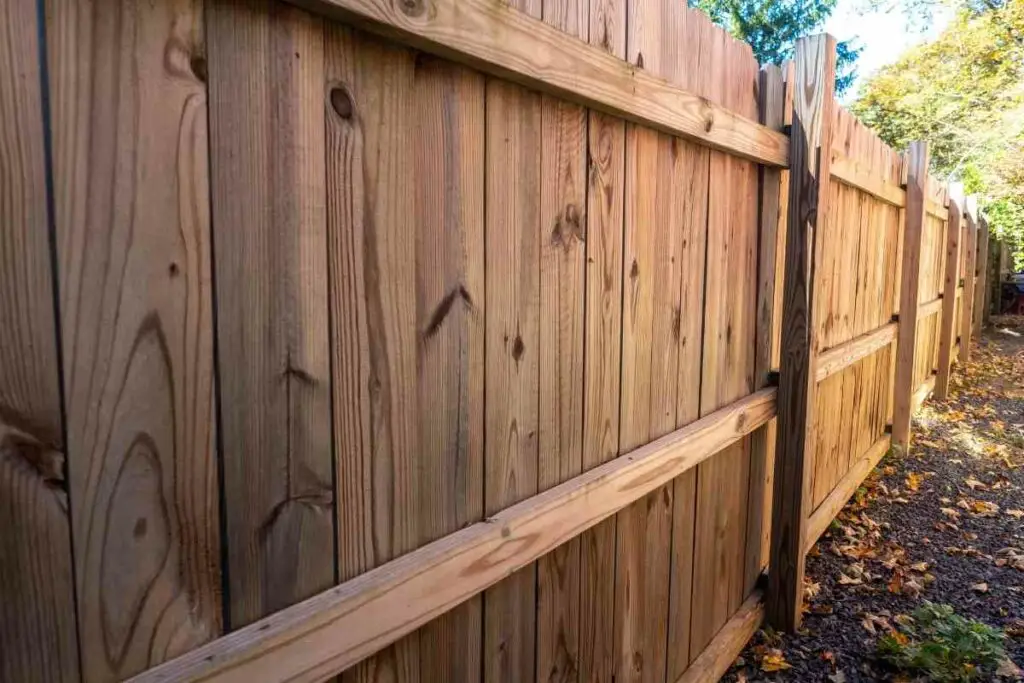
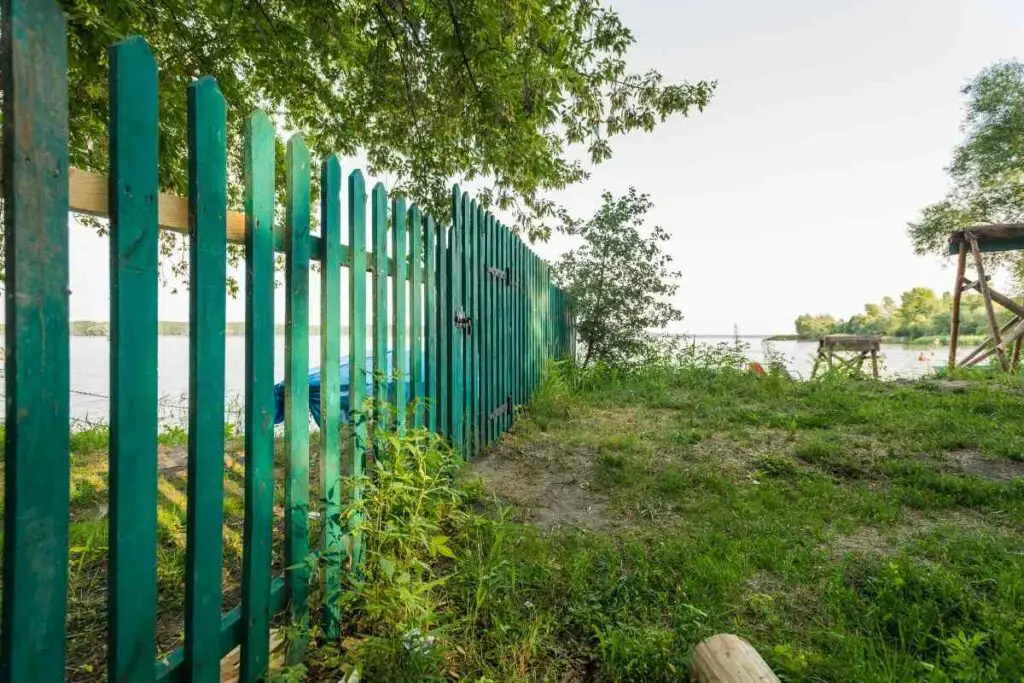
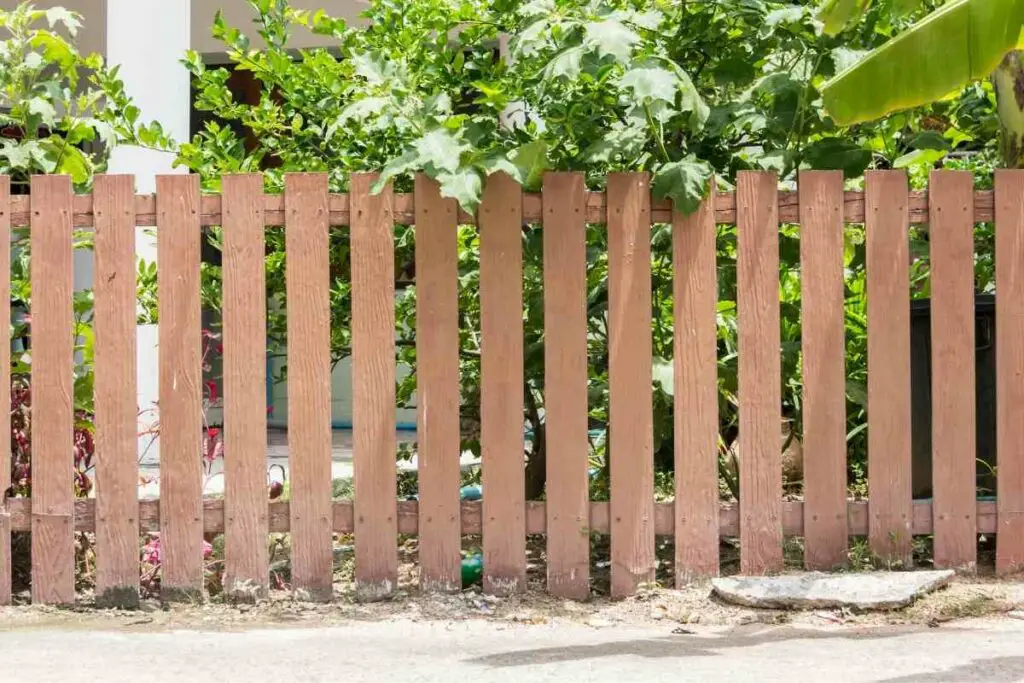
You can extend a wooden fence post height if you want and it’s not too difficult to do. However, keep in mind that there are some local cities and HOAs (Homeowner’s Associations) that will have limits on fence height, which is usually set at 8’.
If you’re sick and tired of your neighbor’s dog, or your neighbors themselves having a peek at you whenever you’re outside, you might want to extend the height of your fence.
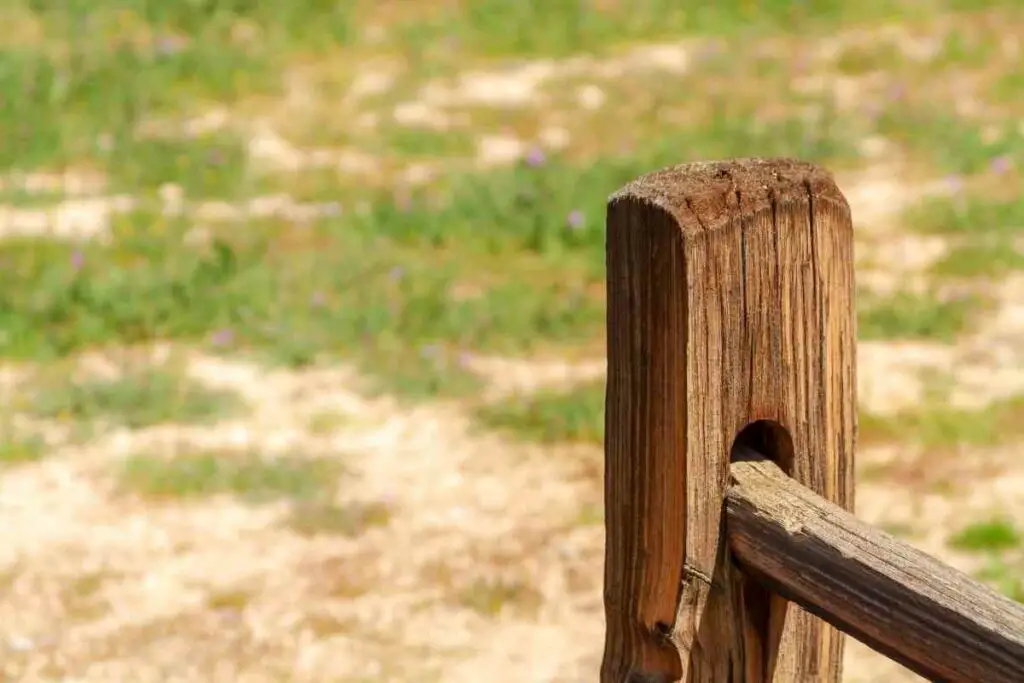
Of course, extending the height of your fence means extending the height of your fence posts, which is surprisingly easy.
There are three different ways to get the job done, all of which are covered below.
Table of Contents
What Do You Use to Extend Fence Post Height?
Depending on the look you are going for, you have three choices in how you want to extend your posts.
Regardless of what the post size is, or how you want the overall aesthetic to be, you will have to buy another section of matching post.
- Splice Plate Method
- Four 1” x 6” sections of wood
- You can create half-lap joists
Splice plates are little more than stainless steel plates that anchor the top (extension) section of the post to the bottom one using bolts.
The sections of wood are another method that works almost the same as the splice plates except you will use more of them and wood screws rather than bolts.
The half-lap joints are a bit more complicated because you will need the hardware to cut a standing post, along with the section you are adding to it.
This is also the most aesthetically pleasing look if you’re concerned about how your fence post extensions turn out.
Depending on which of the three methods you want to go with, there are a number of tools that you may or may not need and we will list the tools and hardware in each section that is appropriate for the method.
Using the Splice Plate Method
Most of the information out there on adding post extensions always assumes that you’re dealing with 4×4 posts.
For the most part, that’s usually the case and the spice plate method is really only best for 4×4 posts, while the remaining two can be used in a variety of fence post sizes.
Splice plates go under a variety of names, such as ‘heavy duty tie plate’ or ‘mending plate’ but it all boils down to a flat, long plate that serves as the bridge between the two, connecting pieces.
If you want to lower the profile a little, you can get small, 4” x 4” splice plates that come with four bolt holes; one located in each corner.
You only need two, because you will usually be using longer and larger bolt screws and you don’t want to run that many into your wood.
- With the four-bolt splice plate, you simply need a 2’ section of 4×4 post (assuming your existing 4×4 is 6’ tall and you want 8’). Set the 2’ section down on top of the 6’ section that is already concreted in.
Use two plates, one on the side and the backside.
You don’t want to line them up opposite of each other as your bolt screws will run up against one another.
You want to avoid using nails. Not only do nails not hold very well but they also don’t always seat right.
Screws are far and away the best option to go with as they won’t unseat when the wood naturally swells and contracts during changing temperatures.
Use Wood Connectors
These are used in much the same way as the splice plates but they’re usually a bit longer to help compensate for the fact that wood isn’t as strong as 20-gauge metal splice plates and especially not 12-gauge splice plates.
You can use wood screws since we are dealing with wood, after all.
Or, you could go with structural screws. Structural screws are a lot more heavy-duty than wood screws, even at the same diameter.
You will be placing a lot more screws in the post using this method, for the additional structural support, so you may want to predrill your holes to avoid splitting the post or your wood face boards.
This is especially true if you are using softwood, but predrilled holes are your best bet any way it goes.
- Purchase two sections of 1” x 4” lumber for each post you want to extend
- Cut them to a length that will make them extend half the length of the new section
- Lay the extension portion of the post down flat
- Place your first 1” x 4” section flat against it, with half of the section flush with the post and the other half extended below
- With a drill and drill bit, drill your holes through both the bracket and your post (typically ⅛” pilot holes)
- Secure the wood bracket to the post with your structural screws
- Do the same thing on the reverse side
- Slide the post extension down onto the existing post
- Ensure that your two side brackets are perfectly flush
- Drill your pilot holes on the bottom section
- Secure the bracket to the bottom post with structural screws
- Do the same on the opposite side
- Add two more 1” x 4” braces to the empty sides and repeat the process
- Be sure to stagger your screws up and down to avoid them striking each other in the post
You should use four braces with the wood version simply because wood braces aren’t as secure as the metal splice plates.
While it will look thicker, for obvious reasons, it will definitely be secure.
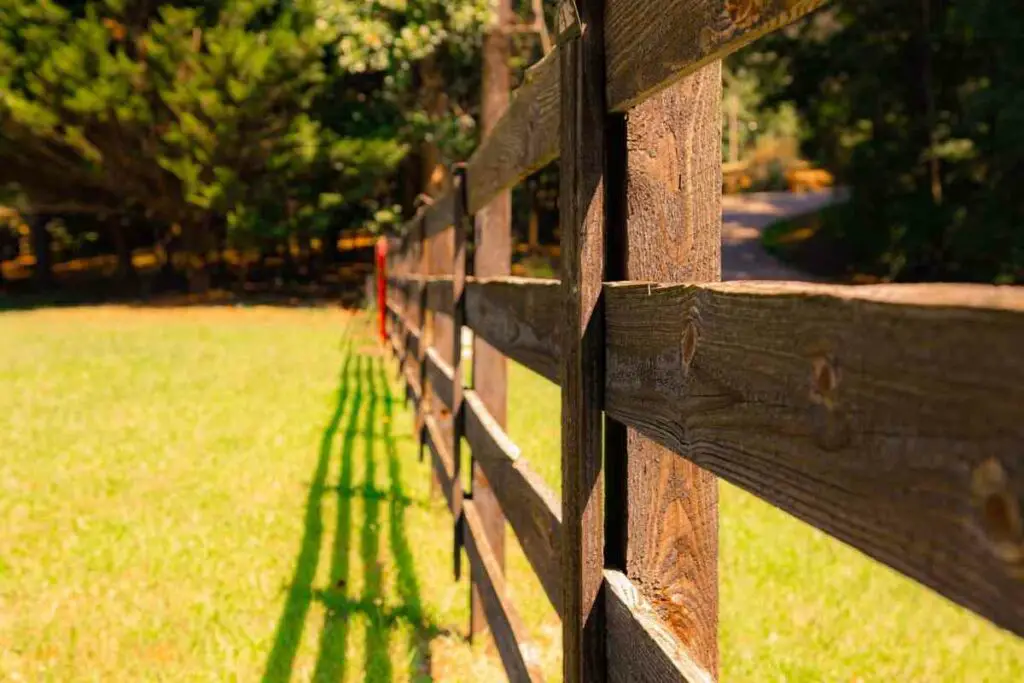
Half-Lap Joint Method
To create a half-lap joint, you’re basically going to cut off a 2” section on the bottom post that runs about 4” to 6” deep.
You’ll do the same thing to the extension piece and when you slide the two together, they will fit like a jigsaw puzzle.
This is probably the most secure, strong method to use and it also happens to be the most aesthetically pleasing, since it will just look like you added 2’ to your post and there’s no sign of it at all.
There are a couple of ways to do this but the simplest method, especially for those who aren’t into woodworking or carpentry, is to cut a series of what is called “kerfs” from the tip of each post, down to about 4”.
Kerfs are shallow cuts that you can make with a circular saw, half the depth of the width of your post. Contrary to popular belief, 4 x 4s are not really 4” x 4”. It’s more like 3 and ½” on both sides.
Set your circular saw to cut at a depth of 1 and ¾” before you get started because that will be exactly half of the depth you need.
- Lay your first post down and brace it with a vice or c-clamp
- Starting at 4” down from the top of the post, cut your kerfs the width of the post
- You’ll have a single, cut line that is 1 and ¾” deep and is 4” below the top of the post
- Shift your circle saw up to about ⅛” to ¼”
- Cut another kerf
- Shift your circle saw up to about ⅛” to ¼”
- Cut another kerf
- Keep doing this until you reach the top of the post
- Use a hand chipper to knock each kerf cut pierce of wood out of the post, starting from the top
- When you knock the last kerf out, use a file to smooth everything out
- Now, repeat the entire process with the standing 4 x 4 post outside
- You’ll have to do it by holding your circle saw vertically, but otherwise, it’s the same process all over again
Once you are through chipping the last kerf cuts out of the standing post and you have filed it down smooth, you are ready to assemble the joint.
You can either use screws or wood glue.
Wood glue is powerful too in the right hands and to use it, you will need to place the glue all along the sections of the half-lap joint that are going to fit together.
Of course, you will have to do this quickly, before the glue dries.
When you have your glue in place, fit your two posts together and use several c-clamps to lock them together very, very tight.
Works Well – To keep the c-clamps from digging into the posts, you can place flat boards in between the c-clamp contact points. Do not remove the clamps for 24 hours.
The wood glue will hold like graphene and the best part is, you won’t have a bunch of visible screw caps that high up on your post.
Of course, if you decide to use screws instead, go with the structural screws as they are much stronger for the intended purpose.
Conclusion
Short Answer: Yes, you can extend your fence post height. some local cities and HOAs (Homeowner’s Associations) that will have limits on fence height, which is usually set at 8’
We recommend following our step-by-step examples above and using which is best for you.
These ideas have all been created to help save you money, but do keep in mind these can take up a lot of your time.
Posts You Might Read
- How to Build a Planter Box for Bamboo: A Step-by-Step Guide

- Can Robotic Lawnmowers Handle Steep Slopes?
- Do You Need a Specific Lawn for a Robotic Lawnmower? Expert Advice

- Are Robotic Lawnmowers Safe for Pets and Children? Safety Features of Robotic Lawnmowers

- Why Use Robotic Lawnmowers? Advantages of Using a Robotic Lawnmower

- Is the GARDENA SILENO City 300 Cordless or Corded? A Clear Answer