When you have the perfect Christmas wreath, you’ll want to add a beautiful bow to the finish. There are three simple ways to make a Christmas wreath bow at home. You’ll need a ribbon, thin wire, hot glue, and a tape measure. You can then tie the bow in a single, double, or triple loop!
Adding a big bow to any wreath can make it instantly more festive. Luckily, it’s an easy process, so you can create as many as you want to decorate the home! You can still easily follow this quick guide if you don’t know how to tie a bow.
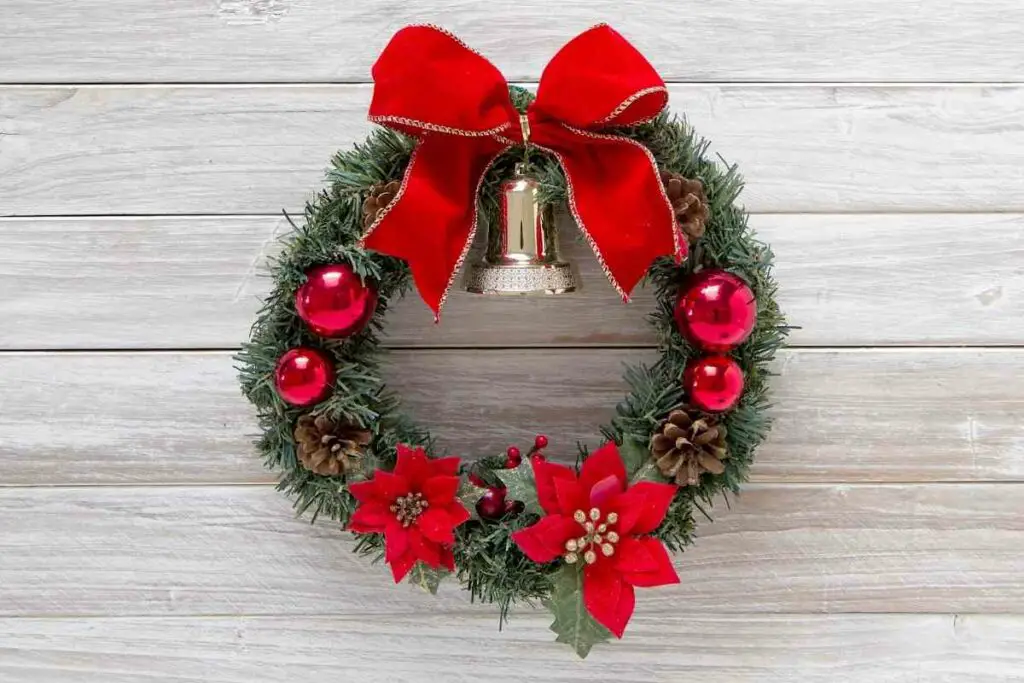
Table of Contents
What Do I Need To Make a Christmas Wreath Bow?
Before getting started on the bow, you’ll need to gather all of your supplies! You’ll need the following items:
- Ribbon
- Thin wire
- Scissors
- Tape measure
- Hot glue gun with glue sticks
When choosing your ribbon, you’ll want to pick one that goes well with the holiday. A ribbon at least two inches wide is best, although you can choose even wider options for a fuller bow. Anything smaller than that makes the bow appear thin.
Next, the thin wire is useful when you cinch the bow. You can find plenty of cheap options- string works too!
Finally, the hot glue gun doesn’t need to be big or high-quality. You’ll only be using it for a drop or two of glue to connect the pieces, so don’t worry about it too much.
Where Can I Buy Christmas Ribbon From?
You are able to buy ribbons from your local fabric shop. They will be able to advise you on different materials that will be best to use. Fabric shops will be able to order different designs to suit your needs.
What if you don’t have one local? If your struggling to find somewhere, we’ve done the search for you.
This beautiful velvet wired ribbon has a magical Christmasy theme which would look amazing on your wreath. Follow the link below for more designs.
Prices pulled from the Amazon Product Advertising API on:
Product prices and availability are accurate as of the date/time indicated and are subject to change. Any price and availability information displayed on [relevant Amazon Site(s), as applicable] at the time of purchase will apply to the purchase of this product.
How Do I Make a Christmas Wreath Bow?
You’re ready to make your Christmas wreath bow now! Keep in mind that using a wider ribbon means you will want to use longer pieces of it. If you have a two-inch ribbon, you’ll want to use about a yard (three feet) of material.
Then, you cut the ribbon, form your loops, and cinch the ribbon into a bow with the wire. From there, you use hot glue to create a faux knot and hide the wire. When finished, you can cut a “V” shape into the dangling parts of the ribbon for a better effect.
Now that you know the general steps, let’s break it down further to follow along!
Making a Single Loop Wreath Bow
The first step is to cut a long piece of ribbon off the roll. Depending on how thick the ribbon is, you’ll want to use about one to two yards.
Next, lay the ribbon out flat and form a single loop. The two tail ends of the ribbon should be right beside each other, with a large loop at the top. You’ll want to adjust the loop at this stage to get the size you want.
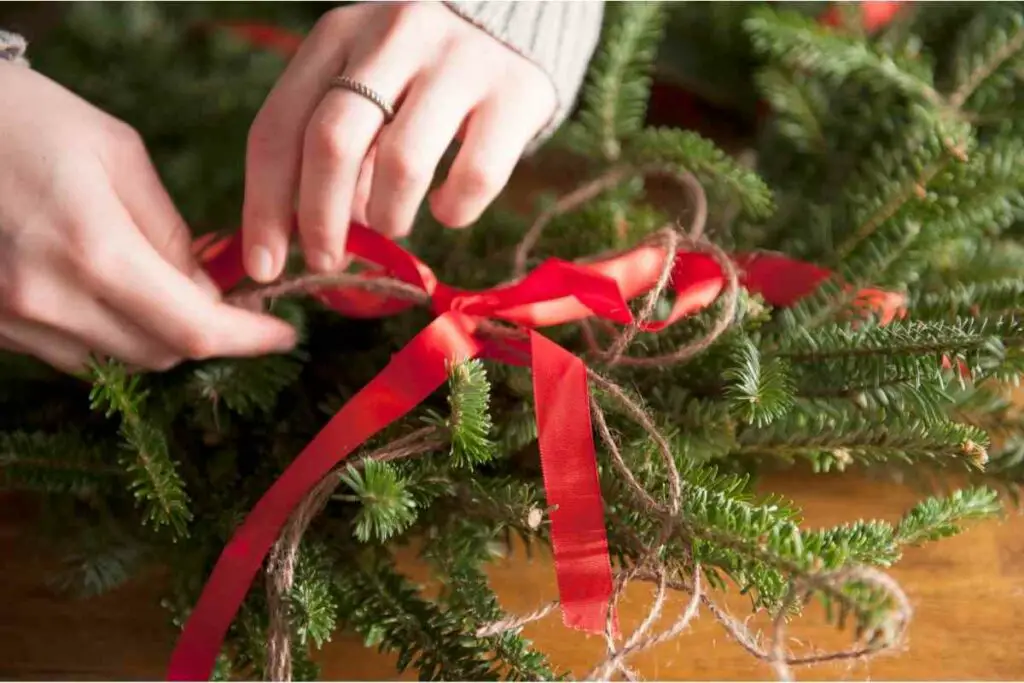
Pinch the loop and bring it down to the ends of the ribbons, creating a cinch. Then, secure the cinch with your wire piece to create a bow shape.
Next, you can cut a smaller ribbon section to go over the middle cinch and hide the wire. You can hot glue it over the top as is or tie an actual knot in the piece for a more realistic-looking bow.
If you want to hang the bow on the branches, you can leave the wire in the back long and form it into a loop. However, you can also trim the wire back to hide it- it’s up to you!
Finally, to finish the bow’s tails, you can trim a “V” shape into the edges. You won’t have to make this cut if you like the straight across the look.
Making a Double Loop Wreath Bow
You’ll want to make a single loop bow first, to get a feel for it. The double loop is very similar and takes the steps of the single loop.
Start by cutting the Christmas ribbon to the length that you want. You’ll need double the material than with the single loop bow.
Next, lay the ribbon down flat and create two big, overlapping loops out of it. Then, pinch the middle of the top loop and bring it to the center of the ribbon, just like you did for the single loop bow. Follow by doing the same with the other loop and cinch it together in the middle.
From there, you can add the wire ties and make the bow more secure. You can even add more tails at this step by connecting long sections of ribbon to the middle before hot gluing the faux tie there.
Making a Triple Loop Wreath Bow
Triple loop bows are very full-looking and quite beautiful. You can add more than three loops, too, if you want!
Cut three sections of ribbon, form them into loops, then cinch them in the middle with wire. Finally, add the tails and the faux middle knot again.
You may need to adjust the pieces before gluing everything down, to get the design you want! The more you practice, the easier making these large bows can get.
Where Can I Put My Christmas Bows?
Your hot glue gun is useful in attaching the DIY bow to any Christmas wreath that you have. You also can stick the ribbons on any surface that you want! They look great on wrapped gifts.
Plenty of people uses this method to create bows for their Christmas trees. You can set or hang them up in the branches. Plus, you could also glue them to garland that you place around the home.
Overall, you have plenty of options for decorating with these bows. They’re incredibly festive, so you’ll discover plenty of uses for them around Christmas time!
How Can I Style My Christmas Wreath Bows?
Knowing how to style your new Christmas wreath bows can make them stand out. If the ribbon you’re currently using feels too floppy or like it can’t hold a shape, you may want to try a wired ribbon.
Wired ribbon comes with an internal wire, which you shouldn’t be able to see. The wire makes it possible to bend, fold, and shape the ribbon exactly how you want it! That way, you can style your ribbon decorations with ease.
