Are you ready to unlock the potential of your backyard and create a lush, vibrant garden? Tilling is an essential step in preparing your soil for planting.
In this blog article, we’ll explore the benefits of tilling and provide tips on how to do it successfully.
Whether you’re a beginner or an experienced gardener, our easy-to-follow instructions will help make gardening easier than ever! So let’s get started – read on to learn more about tilling your backyard!
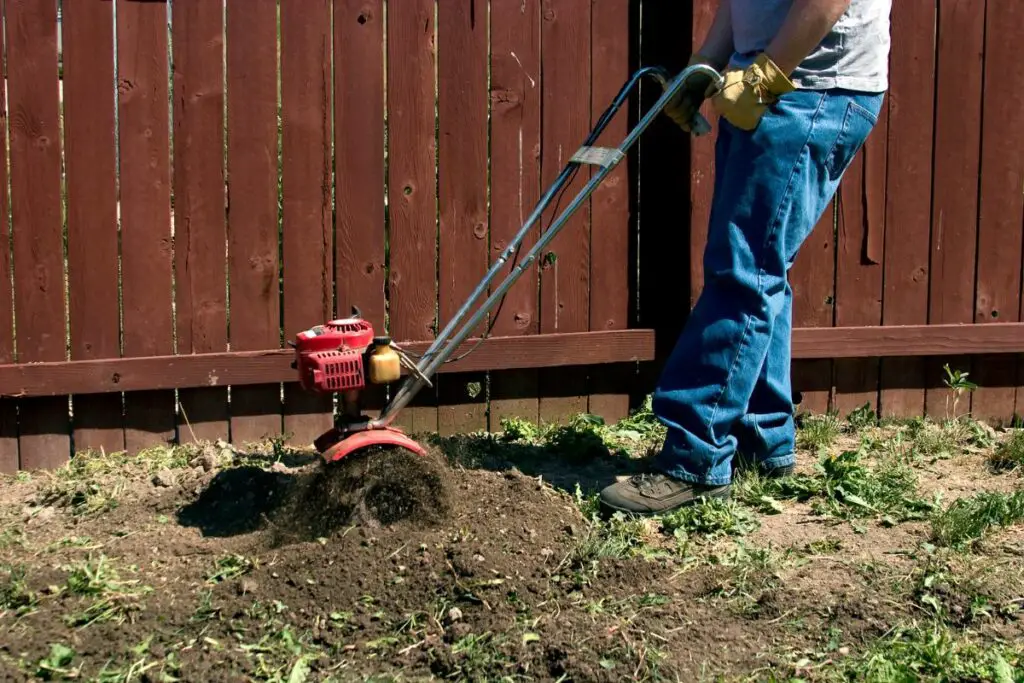
Table of Contents
How To Till a Backyard?
Tilling your backyard is a great way to get your garden ready for planting. It can be an intimidating task, but with the right tools and techniques, you’ll have your garden prepped in no time!
Here are some tips on how to till a backyard:
1. Choose the Right Tools – The first step in tilling a backyard is selecting the right tools for the job. A rototiller or spade will work best depending on what type of soil you’re working with and how large of an area you need to cover.
Make sure that whatever tool you choose is up to date and properly maintained so that it works efficiently when tilling your yard.
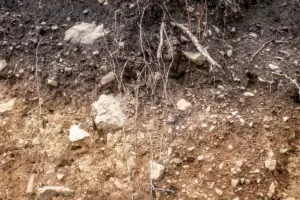
2. Clear Out Debris – Before starting any tilling project, make sure that all debris has been cleared from the area so that it doesn’t interfere with the process or damage any equipment used during tilling.
This includes removing rocks, sticks, roots, and other objects from within reach of where you plan on doing most of your digging/tillage work as well as clearing out weeds if necessary before beginning any actual digging/tillage work itself.
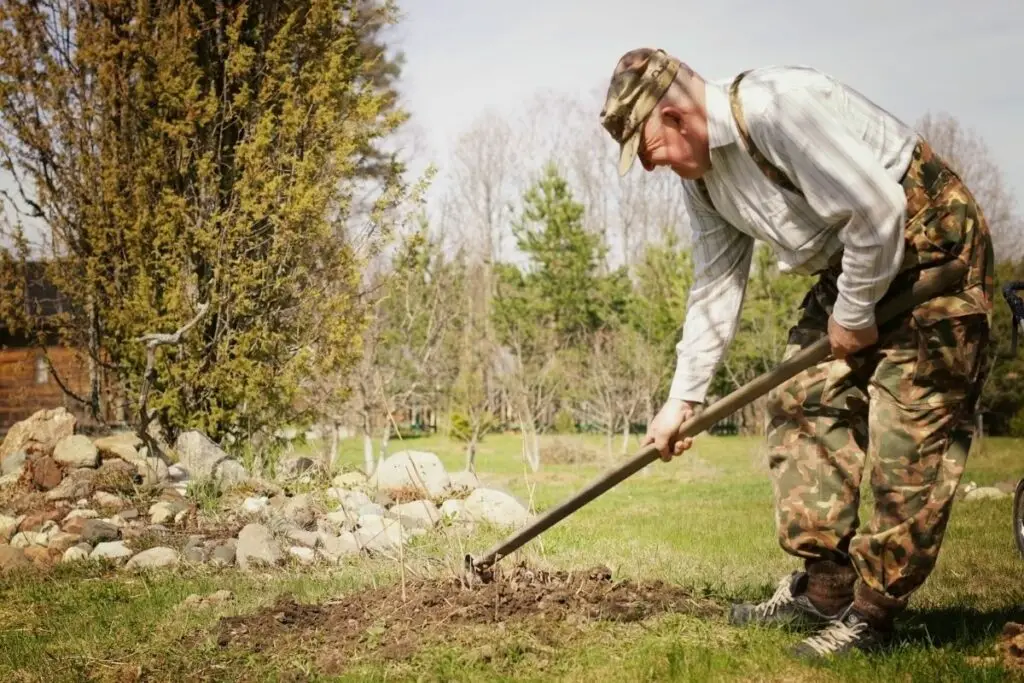
3. Break Up Soil Clumps – Once all debris has been removed from around where you’ll be working, break up clumps of soil using either a shovel or rake (depending on size).
This will help ensure even distribution throughout when actually performing tillage operations later down line.
4. Till Your Garden Bed – Now comes the time for actually performing tillage operations which involves breaking up existing soil structure through the use of a rototiller or spade while simultaneously mixing organic matter into the ground such as composted manure, peat moss, etc… Depending upon desired depth being achieved this could take anywhere between 30 minutes – 1 hour per square foot being worked over (assuming average conditions)
5. Level & Smooth Out Area – After completing the above steps its now time to level out the newly created bed by raking the surface until smooth then adding additional topsoil if needed before finally laying down the mulch layer atop everything else to finish off the look / feel the desired effect was trying to achieve in the first place!
Tilling can seem like an overwhelming task at first glance but following these simple steps should help make the process go much smoother overall!
With proper preparation beforehand along correct tools utilized during the operation itself there’s no reason why anyone shouldn’t be able successfully to complete their own backyard gardening projects without too much difficulty!
Unlock Your Garden’s Potential: Learn How to Till!
Are you ready to unlock your garden’s potential? Learning how to till is the perfect way to get started.
Tilling can help you create a healthier and more productive garden, while also improving soil quality. With just a few simple steps, tilling can make all the difference in your gardening success!
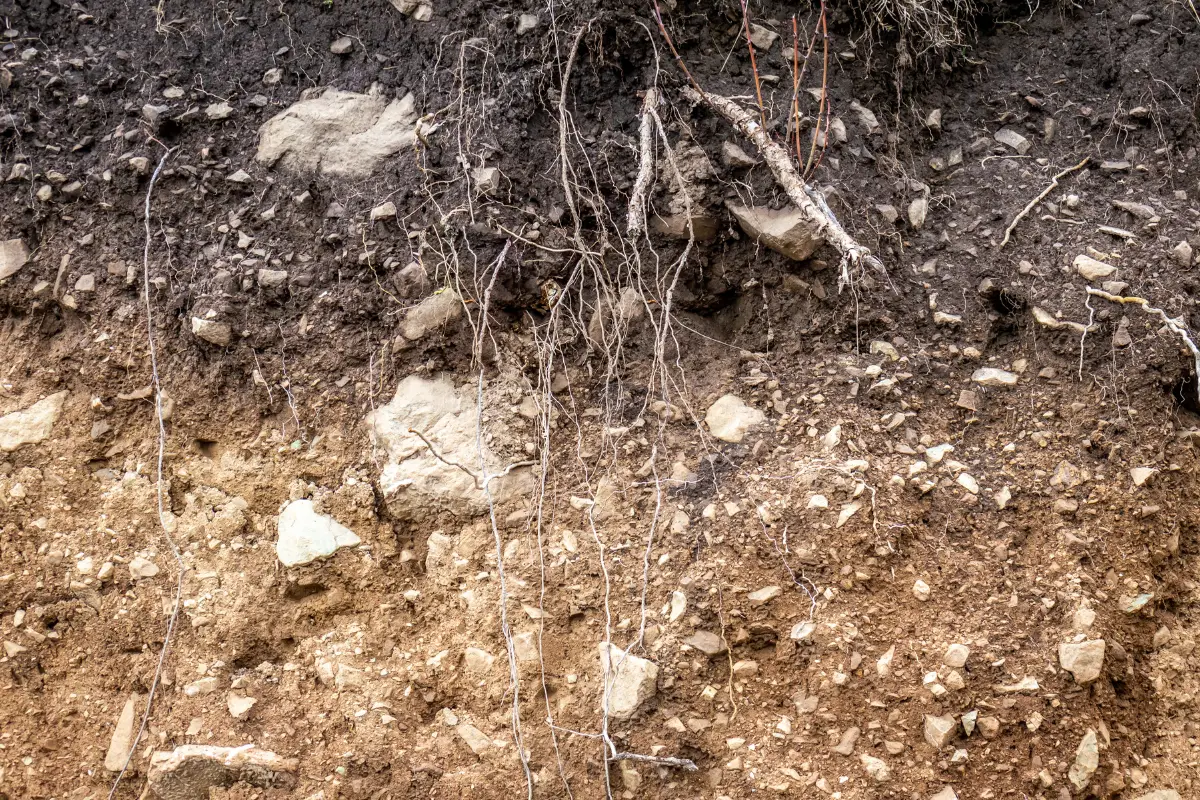
Tilling involves breaking up compacted soil and aerating it with small tools or machines. This process helps loosen packed dirt so that water and air can penetrate deeper into the ground, which encourages root growth for plants.
It also helps break down organic matter like leaves and grass clippings into smaller pieces that are easier for roots to absorb nutrients from.
When tilling your backyard, it’s important to use the right equipment for the job – such as shovels or rototillers – depending on how large an area you need to be covered.
You should also be sure not to over-till; too much work could damage delicate plant roots or even cause erosion problems if done incorrectly!
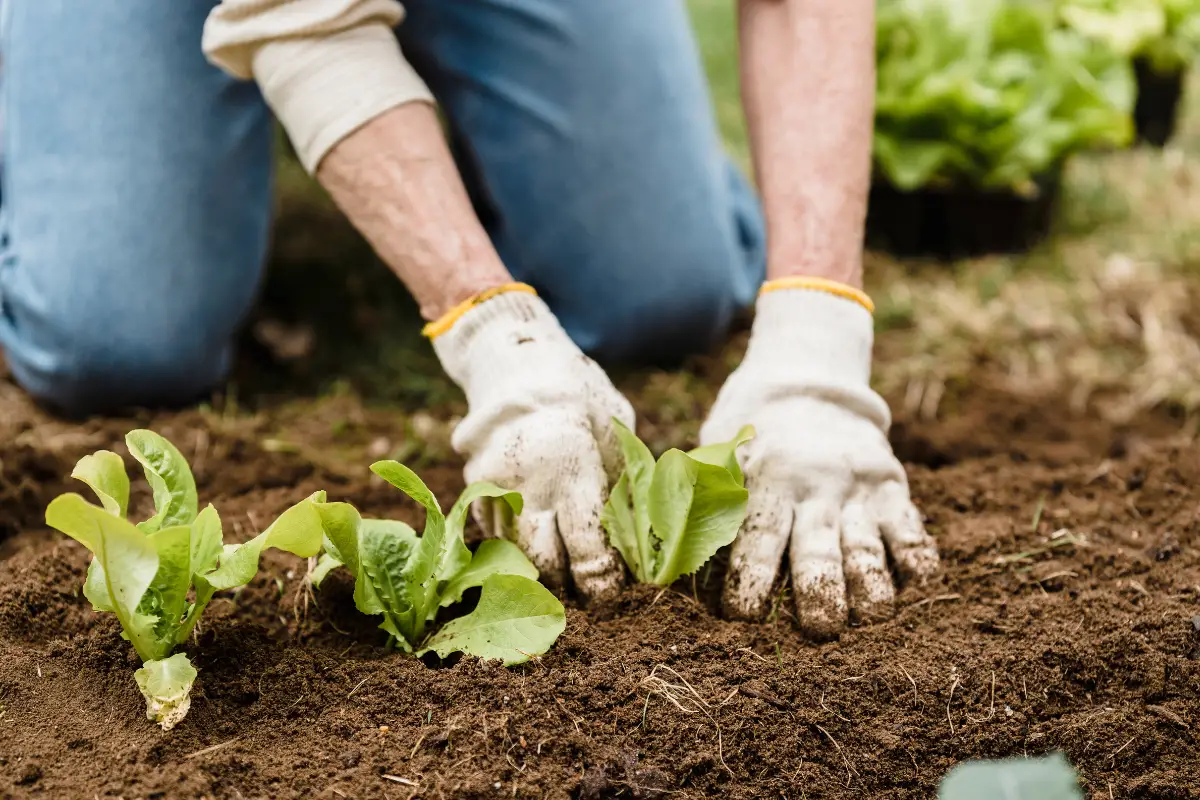
Once you have finished tilling your garden bed, add some compost or fertilizer before planting seeds or seedlings in order to give them an extra boost of nutrition during their early growth stages. And don’t forget about mulching – this will help keep weeds at bay while retaining moisture around plants’ roots so they stay hydrated throughout dry spells!
So what are you waiting for? Unlocking your garden’s potential starts with learning how to till properly – try it out today and see what amazing results await!
Discover the Benefits of Tilling Your Backyard
Tilling your backyard can be a great way to get the most out of your outdoor space. Not only does it help aerate and enrich the soil, but it also makes planting easier and more efficient.
Plus, tilling is relatively simple and doesn’t require any special tools or equipment. So why not give it a try?
If you’re looking for an easy way to spruce up your garden this season, tilling could be the perfect solution!
Tilling helps break up compacted soil so that air and moisture can penetrate better – allowing plants to grow healthier roots with greater access to nutrients. It also loosens hard-packed dirt making it easier for you to dig holes when planting flowers or vegetables in your yard.
In addition, tilling will help reduce weeds by exposing them to sunlight which kills their seeds before they have a chance of sprouting again next year!
This means less time spent weeding throughout the summer months – leaving you with more time for enjoying all that nature has to offer in your own backyard!
So if you’re ready for some fresh new life in your garden this spring – don’t forget about tilling as an option!
With just a few hours of work (and no fancy tools required) you’ll be able to enjoy beautiful blooms all season long without having to worry about pesky weeds taking over again next year.
Tilling Tips for a Greener, Healthier Garden
Tilling your garden is a great way to get the most out of your backyard. It can help you create a healthier, greener environment and make it easier for plants to thrive.
Here are some tips on how to till your garden for maximum success:
1. Start by removing any weeds or debris from the area you plan on tilling. This will help ensure that only healthy soil remains in the area and reduce competition between plants for nutrients and water.
2. Break up large chunks of soil with a shovel or hoe before using a tiller so that it doesn’t become clogged with dirt while working in small areas at once, making sure not to compact the soil too much as this can prevent air circulation around plant roots which is essential for growth!
3. Add organic matter such as compost or aged manure into the top layer of soil before tilling; this will provide additional nutrients and improve drainage so that water does not pool around plants’ roots causing them harm over time due to lack of oxygenation from standing waterlogged conditions!
4. Make sure you adjust depth settings according to what type of plantings you have planned; shallow depths work best when planting annuals whereas deeper depths are better suited towards perennials like shrubs & trees which require more space below ground level than their smaller counterparts do above ground level!
5. Finally, be sure not to follow straight lines when tilling – instead, use curved patterns which allow air pockets within each row allowing greater aeration & drainage throughout all parts of your garden bed(s). Doing this also helps break up hard-packed soils more effectively than going over them multiple times in one direction would achieve alone!
Ready, Set, Till! Get Started Now
Are you ready to till your backyard and get started on your gardening project? If so, then let’s go!
Tilling is an important part of any garden project, as it helps prepare the soil for planting. It breaks up compacted soil and allows air, water, and nutrients to reach plant roots more easily.
Tilling can be a daunting task if you don’t know where to start. But with the right tools and a few simple steps, you’ll be tilling like a pro in no time!
First off, make sure that your yard is free of debris such as rocks or sticks that could damage your tiller blades. Then choose the right size tiller for the job – larger yards may require more power than smaller ones do.
Prices pulled from the Amazon Product Advertising API on:
Product prices and availability are accurate as of the date/time indicated and are subject to change. Any price and availability information displayed on [relevant Amazon Site(s), as applicable] at the time of purchase will apply to the purchase of this product.
Next up is choosing how deep you want to till – this will depend on what type of plants or vegetables you’re planning on growing in your garden bed.
Generally speaking though most gardens should be about 6-8 inches deep when finished tilling – always check with local experts for specific advice related to what types of plants are best suited for each region’s climate conditions before getting started!
Finally, once everything has been set up correctly it’s time to fire up that engine and get going! Make sure safety precautions are taken while operating any machinery by wearing protective gear such as goggles or gloves; never leave running equipment unattended; keep children away from working areas at all times; etc…
Once these guidelines have been followed simply follow along with instructions provided by manufacturer manuals (if available) until desired depth has been reached throughout the entire area being worked upon – then voila: Ready Set Till – Get Started Now!!
Gardening Made Easy: Follow These Simple Steps to Till Successfully
Gardening can be a daunting task, especially when it comes to tilling. But don’t worry! With these simple steps, you’ll be able to successfully till your backyard in no time.
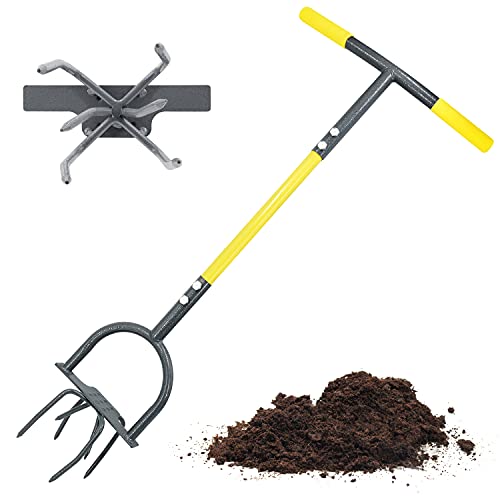
First off, make sure you have the right tools for the job. A good garden spade and a sturdy rake are essential for any successful tilling project.
You may also want to invest in a rototiller if you plan on doing more extensive work with your soil.
Next up is preparing the area that needs tilling by removing any large rocks or debris from the soil surface before beginning work with your spade or rototiller.
This will help ensure that all of your hard work doesn’t get wasted due to an unexpected obstacle!
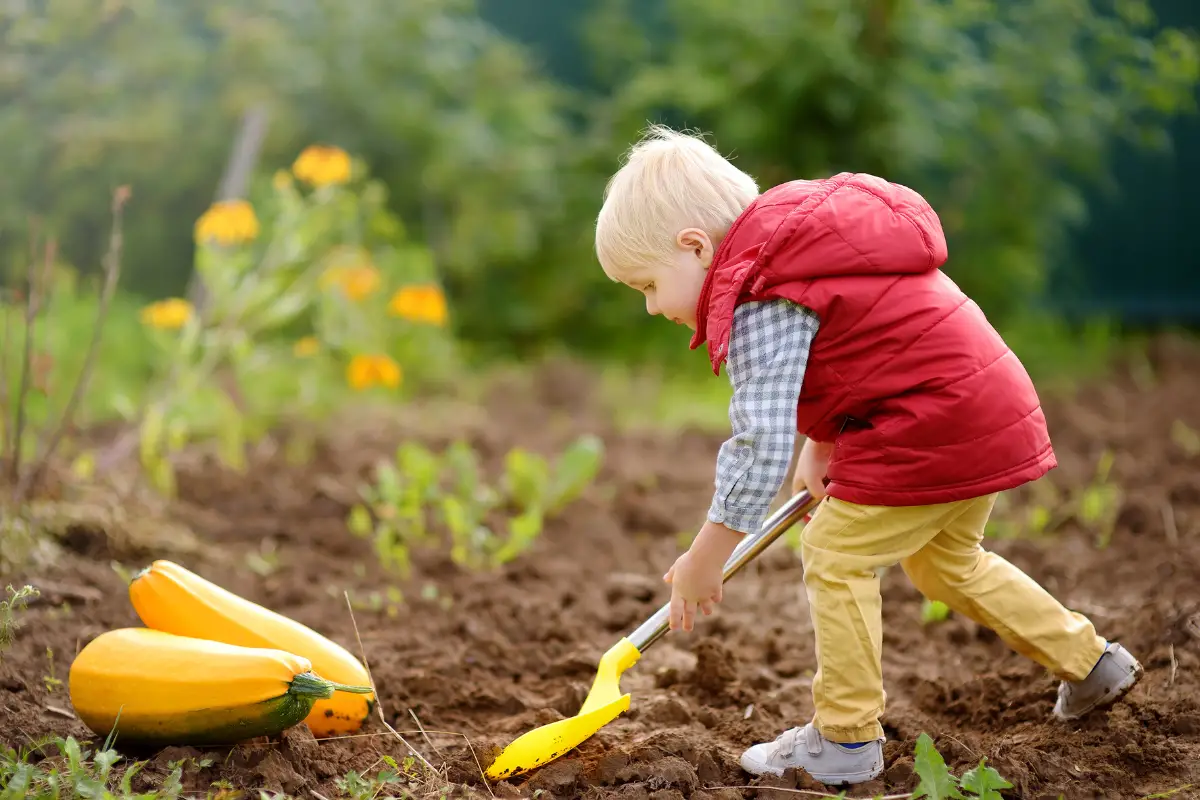
Once everything is cleared out of the way, it’s time to start digging!
Start at one end of where you’d like to till and use either your spade or rototiller (depending on what type of tooling you’re using) and begin working through each section until all areas have been worked over thoroughly – this should take about 15 minutes per square foot depending on how much effort has been put into prepping beforehand!
Finally, once everything has been dug up and turned over properly it’s important not to forget about adding organic matter back into the soil such as composted manure or leaf mulch which will help keep nutrients balanced while promoting healthy plant growth throughout the future seasons too – bonus points if they’re sourced locally too!
Conclusion
In conclusion, tilling your backyard is an important step in preparing your soil for planting. It helps to aerate the soil, break up compacted areas, and incorporate organic matter.
It’s also a great way to control weeds and level out any uneven areas in your yard. Remember to set your tiller to the appropriate depth and to take care when tilling near any established plants or trees.
With proper tilling techniques, your backyard will be ready for planting and will be able to support a healthy and thriving garden.
- How to Build a Planter Box for Bamboo: A Step-by-Step Guide

- Can Robotic Lawnmowers Handle Steep Slopes?
- Do You Need a Specific Lawn for a Robotic Lawnmower? Expert Advice
- Are Robotic Lawnmowers Safe for Pets and Children? Safety Features of Robotic Lawnmowers
- Why Use Robotic Lawnmowers? Advantages of Using a Robotic Lawnmower
- Is the GARDENA SILENO City 300 Cordless or Corded? A Clear Answer