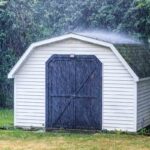
Building your own shed is a great way to save money while practicing DIY skills.
However, you need a reliable concrete base in place to prevent problems. Not making it thick enough can let in water and cause structural issues.
Your concrete garden shed base should be about four inches deep. This size is also the standard for patios and sidewalks.
However, you can make it deeper to support a larger shed. This concrete base should go on top of six inches of gravel for drainage.
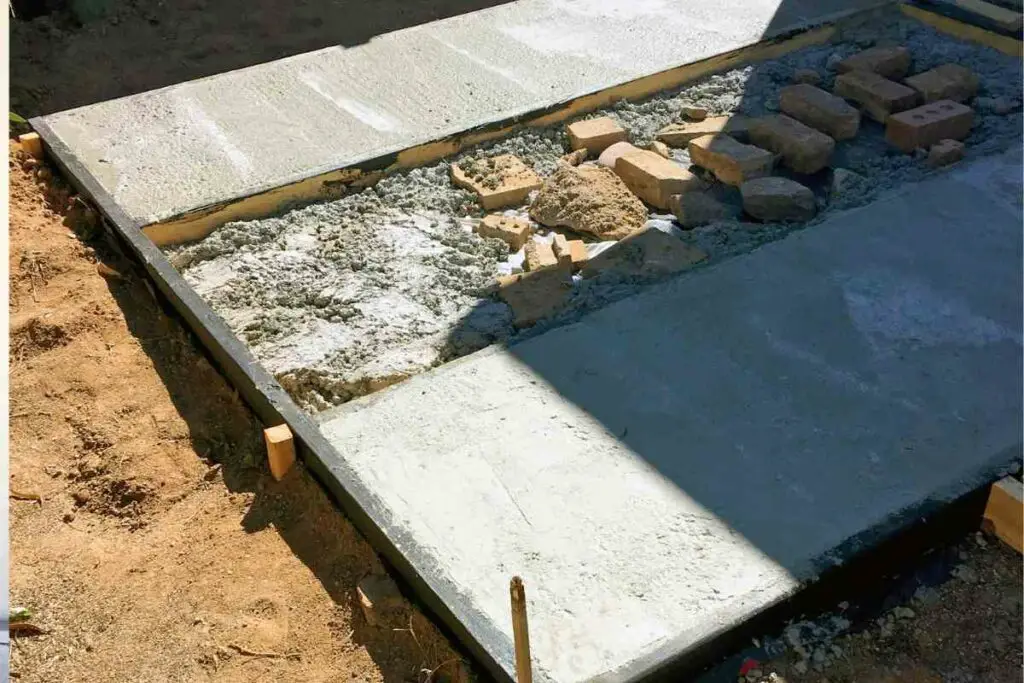
Table of Contents
How Deep Should I Dig To Make a Concrete Base?
Since you want the concrete base to sit on about six inches of gravel, and the base needs to be four inches thick, you’ll need to dig eight inches into the earth. That way, the floor is above the ground by two inches.
When you use this method, your base will turn out at the proper thickness. Leaving those two inches above the ground helps keep the inside of your garden shed dry.
Plus, the foundation should be strong enough to support the garden shed for many years.
You can achieve this by surrounding the hole with wood planks before pouring your concrete. Doing so lets you pour some of the concrete above ground.
The wood should be easy to remove when the concrete sets fully.
How Can I Prepare the Ground For the Concrete Base?
You’ll need to carefully remove all debris from the area where you want to build the shed.
Make sure it’s somewhere convenient to get to. You won’t want to have to deal with a large hill, big rocks, or moving trees.
Next, mark out the size of your planned shed with outdoor paint. Remember that you want the base to be slightly larger than the garden shed to support it.
The garden shed shouldn’t be right at the edge of the base!
Before you start digging, make sure you call 811. This number gives you information on where the utility lines are underground on your property. You don’t want to hit them!
You should review your HOA’s rules on garden sheds as well- you may need to fill out forms first.
Next, you’ll need to work on removing eight inches of dirt from the area you marked off. It’s best to do this in warm weather, where there’s no expected rain.
Build your concrete form with 2 x 6 wood planks inside the hole.
Before adding the gravel, take your time making sure that the hole and your concrete form are square and level. Go slow, so you know you’ve done it right!
How Much Gravel Should I Put Under the Base?
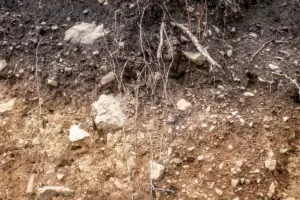
Once you’ve completed leveling the foundation space, it’s time to add the gravel! The gravel allows the foundation to drain, so it’s not a step that you can skip.
Fill the hole with gravel, leveling it off consistently. You want the gravel to be six inches deep.
This amount allows water to travel through the gravel without eroding the soil under the garden shed. All-purpose gravel is a good choice for this project!
You need the gravel to have a uniform depth of six inches. You’ll want to check it often with your level, too, to ensure it’s going to be level.
Once you have the gravel in place, secure ribbed steel bars (or rebar) above it; this layer is the final one before pouring your concrete!
However, only larger sheds tend to need additional support from rebar.
How Do I Make the Concrete Deep Enough?
You should still have your 2 x 4s in place. You’ll want to mark a line that indicates four inches deep along the side. It should go above the ground by two inches, so the other two are underground.
Mix and pour your concrete, then level it. You want it to be as smooth and even as possible. If you notice places low on concrete, make sure to add more before it starts to dry!
After the concrete slab cures, you can safely remove the wooden boards. It’s a good practice to leave them in place longer than you think. Try not to touch it for at least 48 hours. You want to wait at least 12 full days before building on it!
That is a long time to wait. So, in the meantime, make sure you have your plans for the garden shed ready to go.
What Happens If I Don’t Use a Base?
You don’t want to put your garden shed directly on the ground! Doing so can lead to a lot of complications. It could:
- Become uneven and structurally unsafe due to erosion.
- Develop issues with rust, mold, and mildew due to lack of a drainage system.
- Cause the door to get stuck on the earth when opening.
- Cause wooden sheds to rot.
Even if you’re using a premade shed that already has the floor, you still need to construct a foundation for it! Otherwise, it’s going to run into similar problems.
In short, it’s worth taking the time to build a quality concrete base for your new garden shed.
Garden sheds are a significant investment. You’ll need to build a foundation if you want it to last!
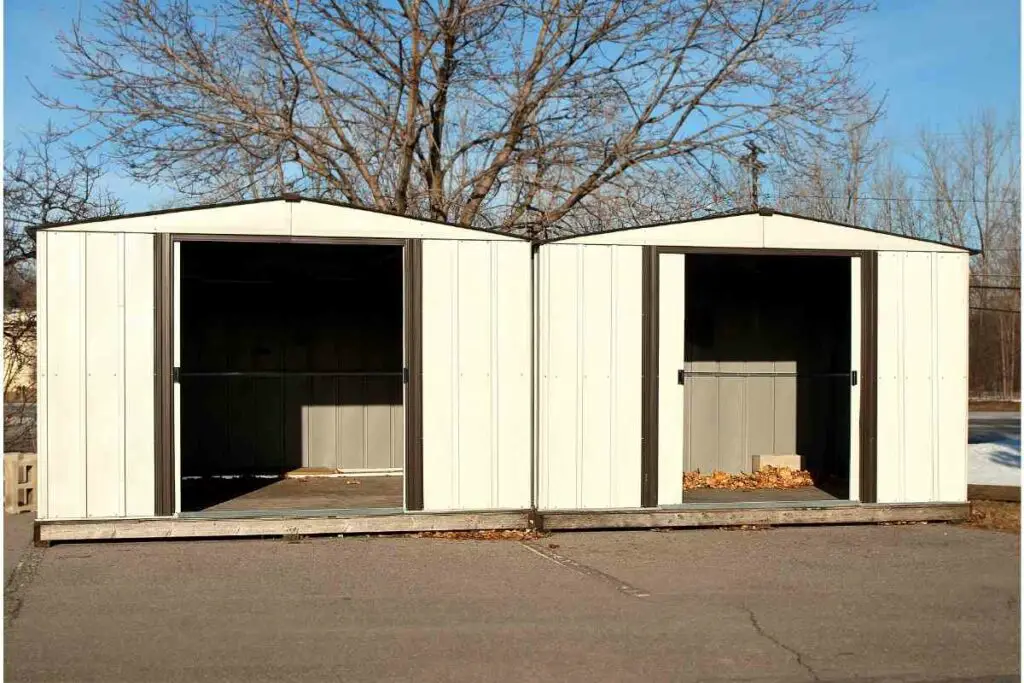
Do Metal Sheds Need Bases?
All sheds need bases doesn’t matter what material it is built out of.
If you don’t take the time to build a structured base for Your shed it could tip over or collapse on itself! If that happens, it would be costly to remove and start over.
Having a base will make your shed last longer and make it more durable.
For more information Check Out Our Full Article: Do Metal Sheds Need a Base? DIY Guide
What Happens If I Don’t Make the Base Deep Enough?
You’ll want to take the time to dig a deep foundation for the concrete. If you don’t go deep enough, the concrete slab won’t support the garden shed properly.
That means the shed can slope, have a sagging floor, or even tip over! Water pooling next to the shed can also be a result of this.
If left for too long, it can attract mosquitos and other insects. These issues can also crop up if the base isn’t level.
Overall, if you want your garden shed to be structurally sound, you need to measure the slab accurately. Doing so also ensures proper drainage, so water shouldn’t gather around the shed.
- How to Build a Planter Box for Bamboo: A Step-by-Step Guide

- Can Robotic Lawnmowers Handle Steep Slopes?
- Do You Need a Specific Lawn for a Robotic Lawnmower? Expert Advice
- Are Robotic Lawnmowers Safe for Pets and Children? Safety Features of Robotic Lawnmowers
- Why Use Robotic Lawnmowers? Advantages of Using a Robotic Lawnmower
- Is the GARDENA SILENO City 300 Cordless or Corded? A Clear Answer