If you want to construct a roof garden, you’ll need to make sure to use lightweight soil! It should also provide your plants with enough nutrition. However, there are tons of recipes online- how do you know which to use?
The best lightweight soil mixture for roof gardens includes vermiculite, compost, topsoil or loan, coarse perlite, and a filler. You’ll need to moisten the components before mixing them. This recipe is very light and provides enough substance for all kinds of plants!
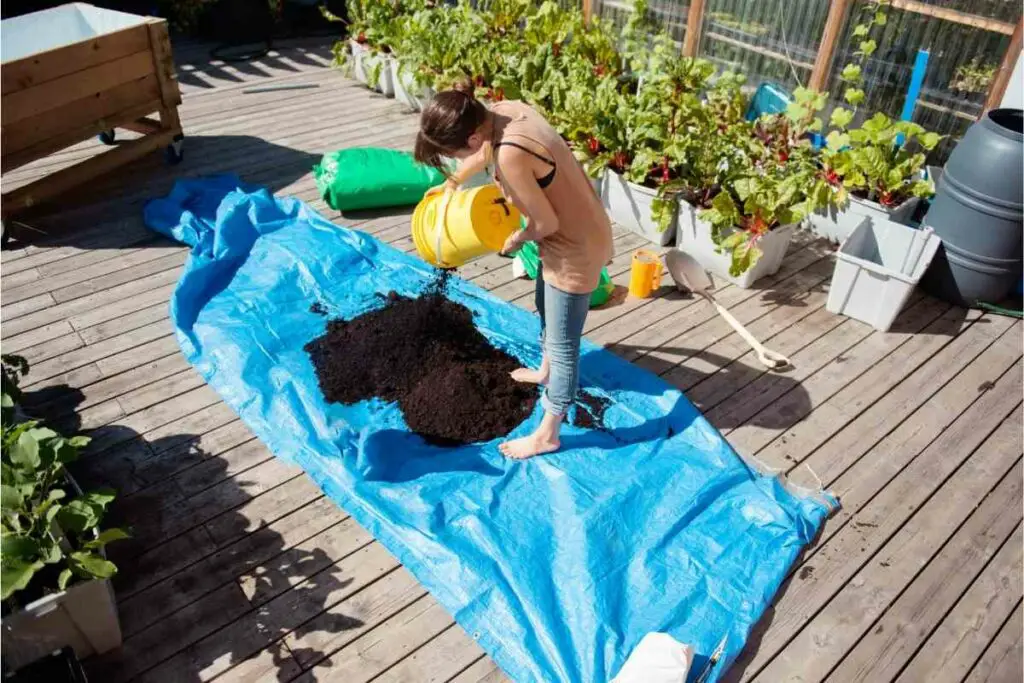
Table of Contents
What Do I Need To Make Lightweight Soil?
If you’re going to create lightweight soil, you’ll need all of the following ingredients:
- One part compost
- One part vermiculite
- One part topsoil or loam
- Three parts filler (peat moss, decayed bark, etc.)
- Three parts coarse perlite
You can use a compost that you made yourself. It should be light enough, as long as you only use one part of it.
Vermiculite is a mineral that’s good for retaining nutrients in the soil, ensuring they get enough over time. It’s essential for rooftop plants.
For the filler, you have plenty of different options of what you can use. Decayed bark and peat moss are great for enhancing the natural environment of your soil. However, any shredded, fibrous, organic substance will work well.
The perlite is a natural mineral that increases aeration and water retention in the soil. It looks like small white balls- you’ve probably seen them in store-bought potting mixes. Make sure you use enough of the perlite! It’s very light and helps keep the soil in good condition.
Once you have all of the soil ingredients ready, you’ll need to gather a spray bottle filled with water.
How Do I Mix the Ingredients?
Next, you’re ready to combine the soil ingredients. Take your spray bottle and mist all of the ingredients.
Then, place the materials in a large bucket. You can use a garden trowel to mix all of the parts.
Make sure you spend a reasonable amount of time mixing. You want all of the ingredients to combine thoroughly. If the mixture starts to dry, you can mist them again with the spray bottle.
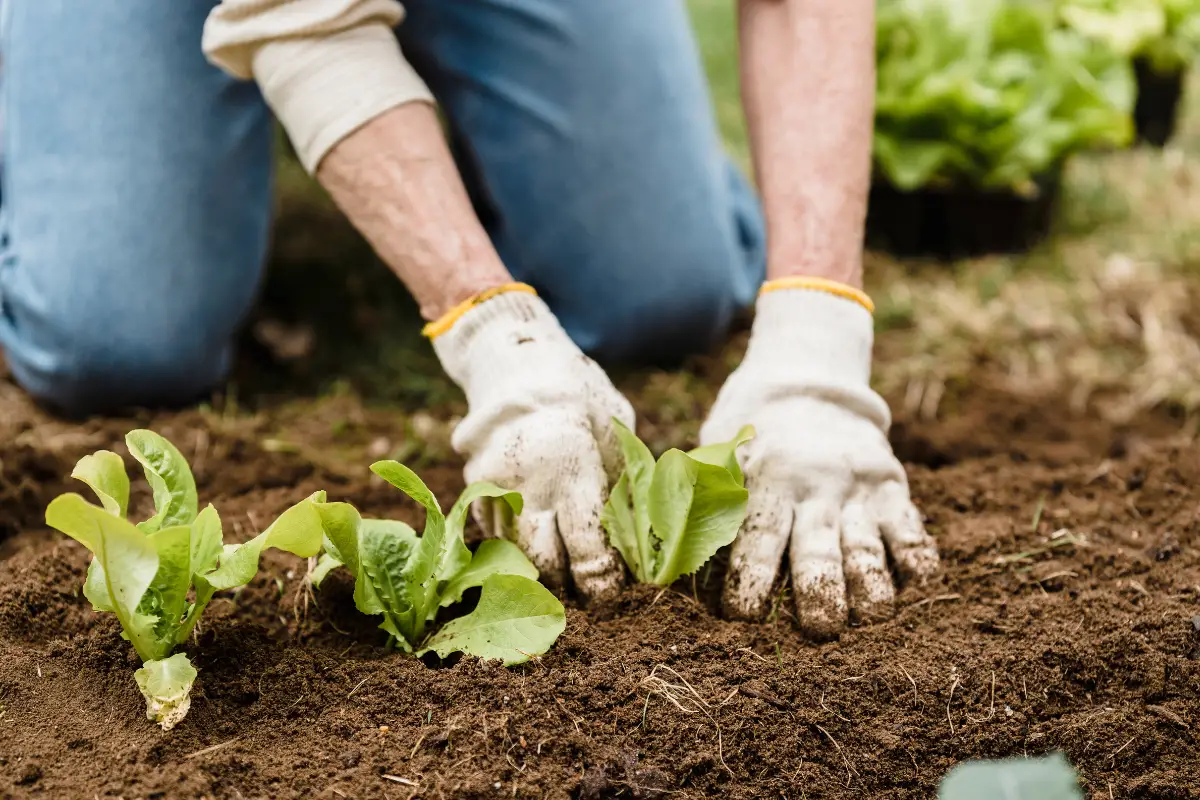
After combining well, you can take the soil to your roof garden. From there, you can use it just like any other potting soil!
Take the time to plant your garden, and make sure to check on it often. This recipe should provide them with enough nutrition for about a year or two.
How Often Do I Replace the Soil?
You won’t need to replace this homemade soil very often- it contains many nutrients for your plants.
However, it’s a good idea to change it out every year or two. The ingredients can break down during that time.
While breaking them down does offer your plants more vitamins and minerals, they can easily run out!
To replace the soil, you’ll need to remove the plants temporarily, empty the old dirt, then pack in more of the new homemade soil.
It would help if you made a new batch when you replace the soil. That way, you fully replenish the nutrients in your garden.
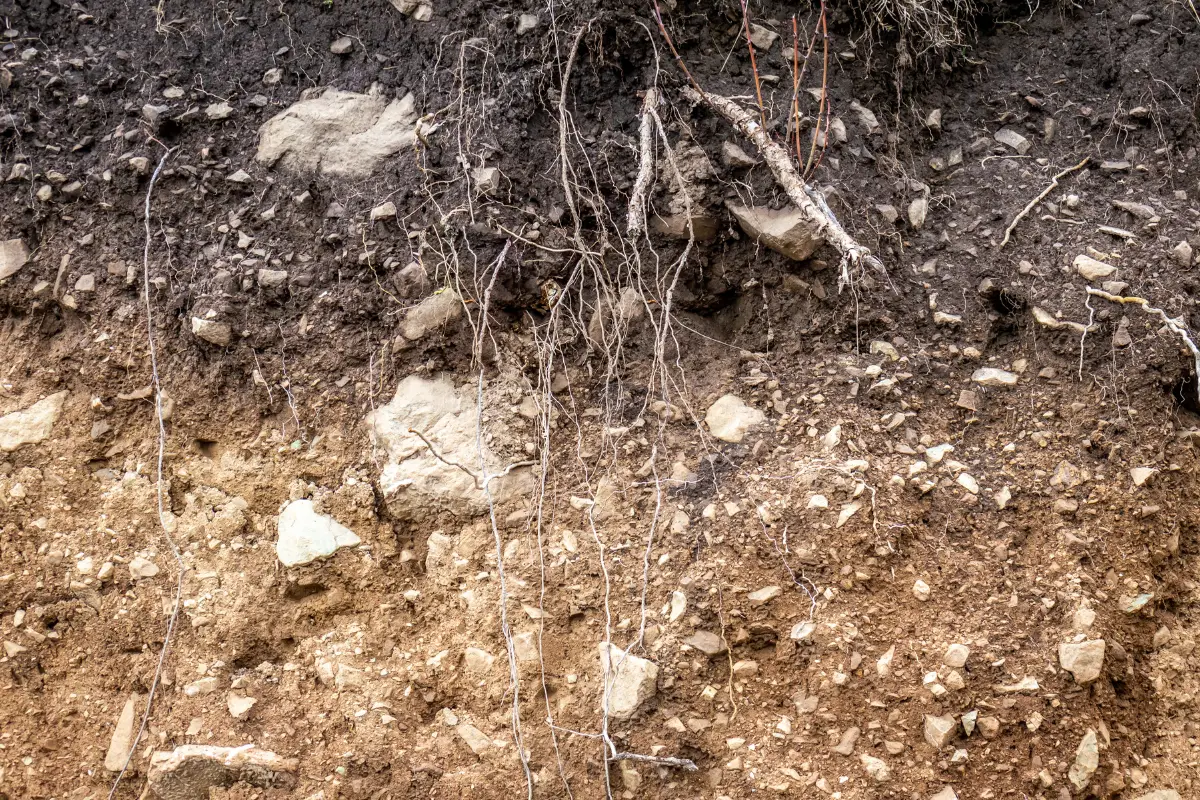
This step is essential because rooftop plants don’t have access to natural earth like a garden in your backyard would.

How Do I Take Care of the Soil?
If you want your garden to succeed, you’ll need to ensure you take good care of the soil.
After heavy rainstorms, take some time to add more compost to the plants’ soil. Excessive rain can wash away some of the nutrients.
It’s also a good practice to add more fresh compost to the pots every week or two. Rooftop plants need a lot of nutrition to thrive, and compost adds what they need back into the soil.
Overall, you won’t need to do a lot to keep the soil in good condition. Ensure to water the plants often and give them more compost when you think they need it! Other than that, just clean out the soil and replace it yearly.
Consider Slow Release Fertilizer
Additionally, you might want to consider adding slow-release fertilizer to the soil. It’s best for produce, and you won’t have to worry about adding compost to your plants as often.
A slow-release fertilizer emits small amounts of nutrients back into the soil over a long time. Usually, they are natural fertilizers that slowly decompose and return to the ground.
You can find options that use plastics and chemicals to slow the release, but most people don’t want to add those materials to their garden. Instead, it’s best to choose natural fertilizer products when you can.

Prices pulled from the Amazon Product Advertising API on:
Product prices and availability are accurate as of the date/time indicated and are subject to change. Any price and availability information displayed on [relevant Amazon Site(s), as applicable] at the time of purchase will apply to the purchase of this product.
These slow-release fertilizers work on all kinds of plants. You want to make sure it contains calcium and magnesium when growing vegetables for the best results!
Offer Ample Drainage
Lastly, it’s also a good idea to put this soil in containers that offer ample drainage for your plants. Roots surrounded by water for too long can rot, leading to the plant wilting.
This lightweight soil mix is water-retaining, so you need to ensure you don’t overload your plants with water.
The best way to avoid drowning them is to use containers that have openings at the bottom to let out excess water.

Prices pulled from the Amazon Product Advertising API on:
Product prices and availability are accurate as of the date/time indicated and are subject to change. Any price and availability information displayed on [relevant Amazon Site(s), as applicable] at the time of purchase will apply to the purchase of this product.
Check out our recommendation of these extremely modern plant containers with drainage holes to allow your soil to drain any excess water.
Should I Add Worms to the Soil?
You don’t want to add worms to the soil in pots. While worms are great for enhancing a garden and bringing in more nutrients, you won’t want to use them in containers. The worms won’t find enough food there to survive.
Plus, you won’t need to use worms with this recipe. The soil mix offers enough nutrients for your plants without worms.
However, if you still want to include them, you can add them to your compost pile. The worms will help break down the compost so that you can use it on your rooftop plants.
Just make sure that you don’t accidentally take any worms up to the roof when adding more compost to your plants.
If you are interested in using worms in your garden, why not build your own organic worm bin?
- How to Build a Planter Box for Bamboo: A Step-by-Step Guide

- Can Robotic Lawnmowers Handle Steep Slopes?
- Do You Need a Specific Lawn for a Robotic Lawnmower? Expert Advice
- Are Robotic Lawnmowers Safe for Pets and Children? Safety Features of Robotic Lawnmowers

- Why Use Robotic Lawnmowers? Advantages of Using a Robotic Lawnmower
- Is the GARDENA SILENO City 300 Cordless or Corded? A Clear Answer